So, almost directly after I had put the engine back together and filled the engine with fluids, it ran fine! But of course we had to keep a close eye on it for any problems, and alas there was!
I noticed some the classic oily sheen in the water in the radiator, and my WORST fear was that it was engine oil and that there was a bad head gasket or head itself. AH! No!
We drained everything in the radiator and THIS is what we found:
Now, the green substance is the antifreeze of course. The clear oil drops in the center are engine oil, but they weren't there when we drained the radiator, we dripped some on purpose to see if it was really our problem. It turns out it wasn't! The red/brown fluid on the outside was what was in the radiator, and we believe it was the Automatic Transmission Fluid (we dropped a few drops of ATF in the center to make sure as well).
Ford had designed their cars to have an integrated ATF cooler in the radiator itself, which is more than prone to leakage into the antifreeze. We suspected this might be the problem, so we had to replace the entire radiator (which was a cheap model to begin with) with the same model haha.
OLD:
NEW:
Alas, that fixed our problem! I'm hoping maybe later on in the future to get an external ATF cooler, if any are available. There is still some residue in the system, but we flushed as much out as we could, and we will do so again later on. But for now everything is running great!
Hi everyone, all the while I was working on the engine/engine bay detailing and cleanup, I was ALSO working on the undercarriage! Everything from the exhaust pipe/muffler, to the rear axle. The actual cleaning of the undercarriage (the floor pans, sheet metal, wheel houses, etc) were done in a 4-month period. They were very filthy with grime/dirt/undercoating and that wasn't quite my style.
I DON'T have a before picture of the entire undercarriage (regretfully) but I think you can have an idea of how dirty it was by just looking at the rear axle:
Some cool discover I made, these markings that were made from the factory! I really wonder what they mean. 14-72 written twice, by two different people. Hmm.
I cleaned up the rear axle with a combination of a wire brush, wire wheel, and some sandpaper! not bad I think! The pumpkin in the front, though, was very hard because of the little concave square, very hard to get a brush or even sandpaper in there.
The exhaust/muffler setup I used a combination of wire wheel and a little siphon media blaster (with aluminum oxide as the media) that I picked up front Harbor Freight. It was VERY rusty and I did not get all of it, but it looks pretty good! An interesting thing about my exhaust system is that someone actually WELDED the pipes together with the muffler, so its now essentially an exhaust assembly, it comes off and is installed as one piece! The inlet pipe was painted with Eastwood High-Temp Cast Iron Coating, and the Muffler and muffler outlet, I used an Eastwood Aluminum Colored High-Temp Spray!
The drive shaft I was careful of, and I used a combo of wire wheel (for the large grime stuck onto the top) and sandpaper for the rest of the process.
And here's some pictures of the final results!
I personally think it came out very nice! Not bad for a budget restoration! Some of the paint, namely on the axle, was scratched off, but thats just inherent to the cheap paint (the paint for the axle I got at Harbor Freight, not a great idea!) The undercarriage sheet metal itself was painted with Rustoleum Rusty Metal Primer with a generic rattlecan clear coat, the red oxide color was unique to the San Jose plant where the car was built, and it looks very nice!
Hi everyone, I had begun the restoration of the undercarriage of the car since about February '13, but since I was still in high school, I could only do it on weekends, thus just the cleaning of the rust and dirt from the undercarriage took about 4 months-worth of weekends. When my senior year of high school ended, I decided to focus my entire summer to getting as much done on the car as possible. Thus, it left around 4 months of me to do as much as possible, and this is what I did!
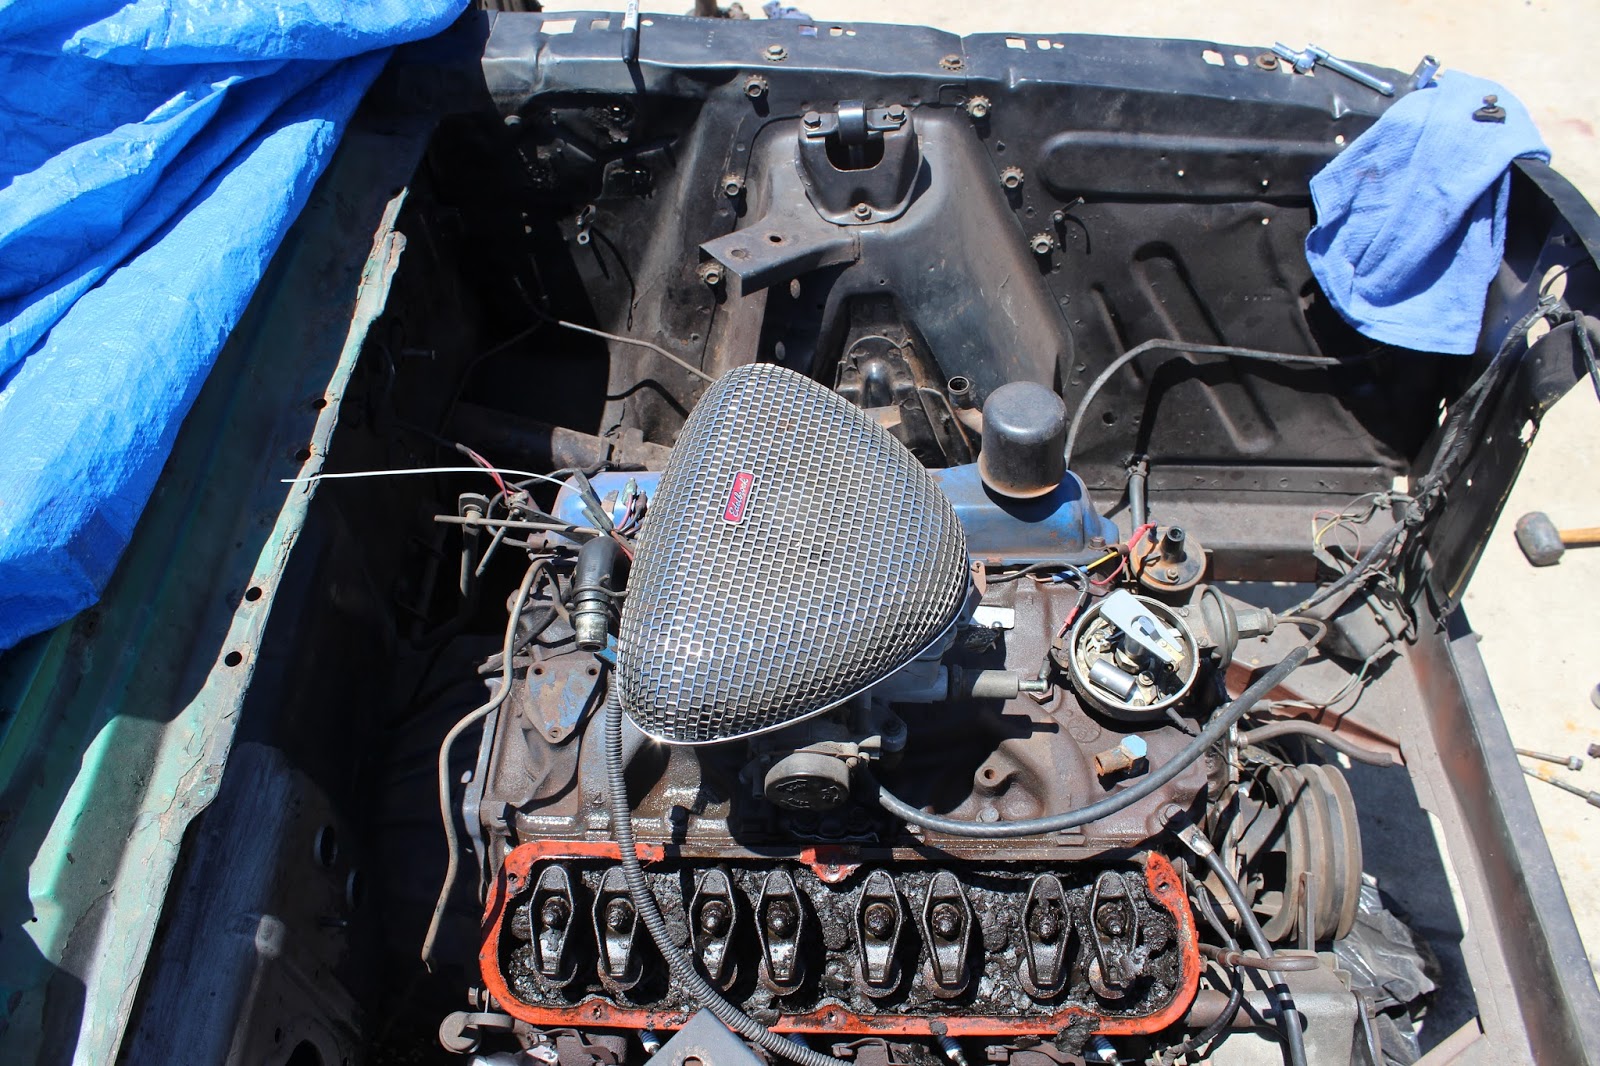
First of all, some before-photos (of the engine compartment)
As you can see, very rusty! Not just on the block and its top-end components, but also in the actual compartment! 45+years of use and abuse!
NOTE: I've never ever dismantled an engine before, let alone done any mechanic work on it, so this was a HUGE learning experience for me!
Let's start tearing it up! In the picture I've already removed the spark plug wires and distributor cap.
So, first things were the water pump/outlet and hoses!
VERY rusty inside of these passages, the previous owner actually ran the car with PURE water (WOW!) and NO thermostat to my surprise! Really interesting! Anyway, next is the valve covers!
I was very surprised when I took off the valve covers, because there were some sort of - deposits inside, don't know what it is but it was in the form of flakes! And it covered the entire top of the head, probably clogging the oil passages in the head. This is very odd to me because the engine ran like a charm before dismantling it. But this what I had to work with!
Next, the intake manifold!
Again, coolant passages very rusty (and look pretty clogged), and the valley is filled again with these chips/flakes, very weird.
Next, cylinder heads and exhaust manifolds!
And some other components!
And the (almost) bare block (after I cleaned the valley up a bit)!
The method that I used to clean all the engine parts was a nice wash in distilled white vinegar. I left all of the removed parts in the vinegar tub for about a couple 3-4 days, and here are some of the results!
As you can see, it did a really nice job!!! Of course I had to manually scrap off some additional rust and grime (like the fan in the picture and cylinder head) but it definitely beat doing all of it by hand! Now, let the painting and detailing begin!
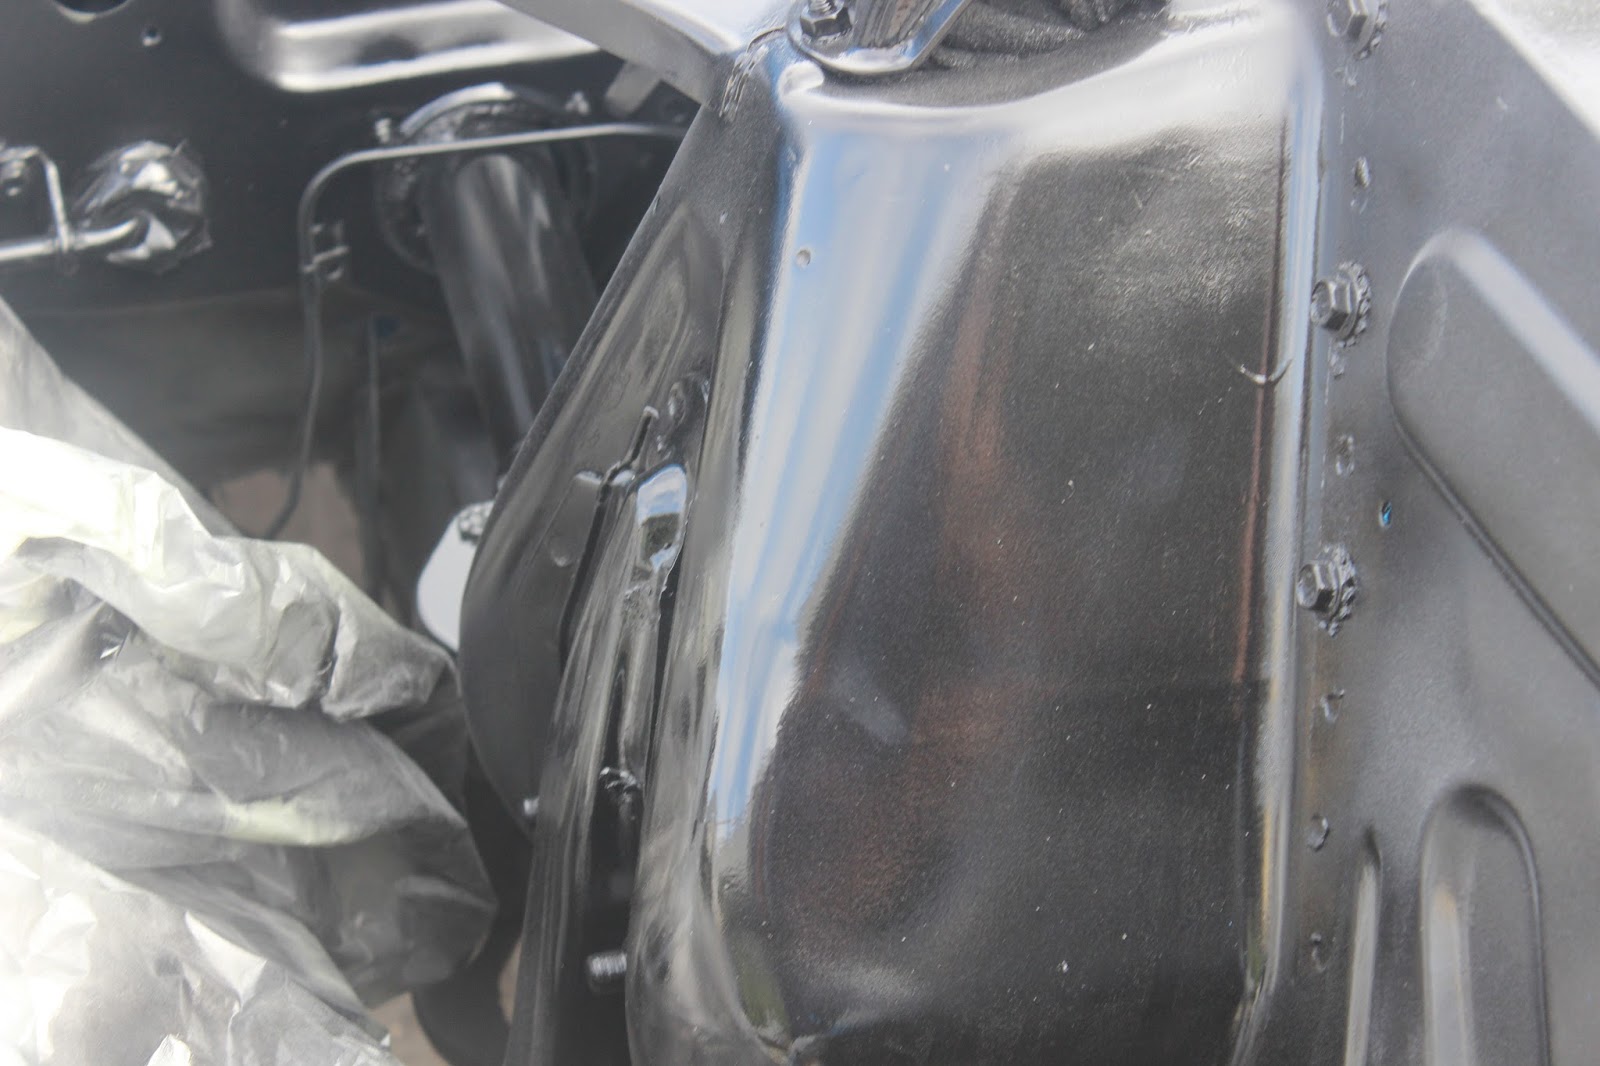
BUT before that, all the while these parts were washing themselves in the vinegar wash, I had began to detail the actual engine bay (without removing the block! looooots and lots of masking):
I used a combination of paint stripper (this stuff HURTS when it gets on your skin, ouch.), sand paper, and some wire brush! Here I had it primed and sanded with cheap rustoleum rattle can primer, and I put on a cheap rustoleum high-gloss enamel (I would've used a flat or semi-gloss black, but I had 5 cans of the high-gloss already, so I just went with that)
As nice and shiny as it looks now, the cheap paint means that it will be getting chipped and scratched quite a bit during installation of the engine components! Darn :(
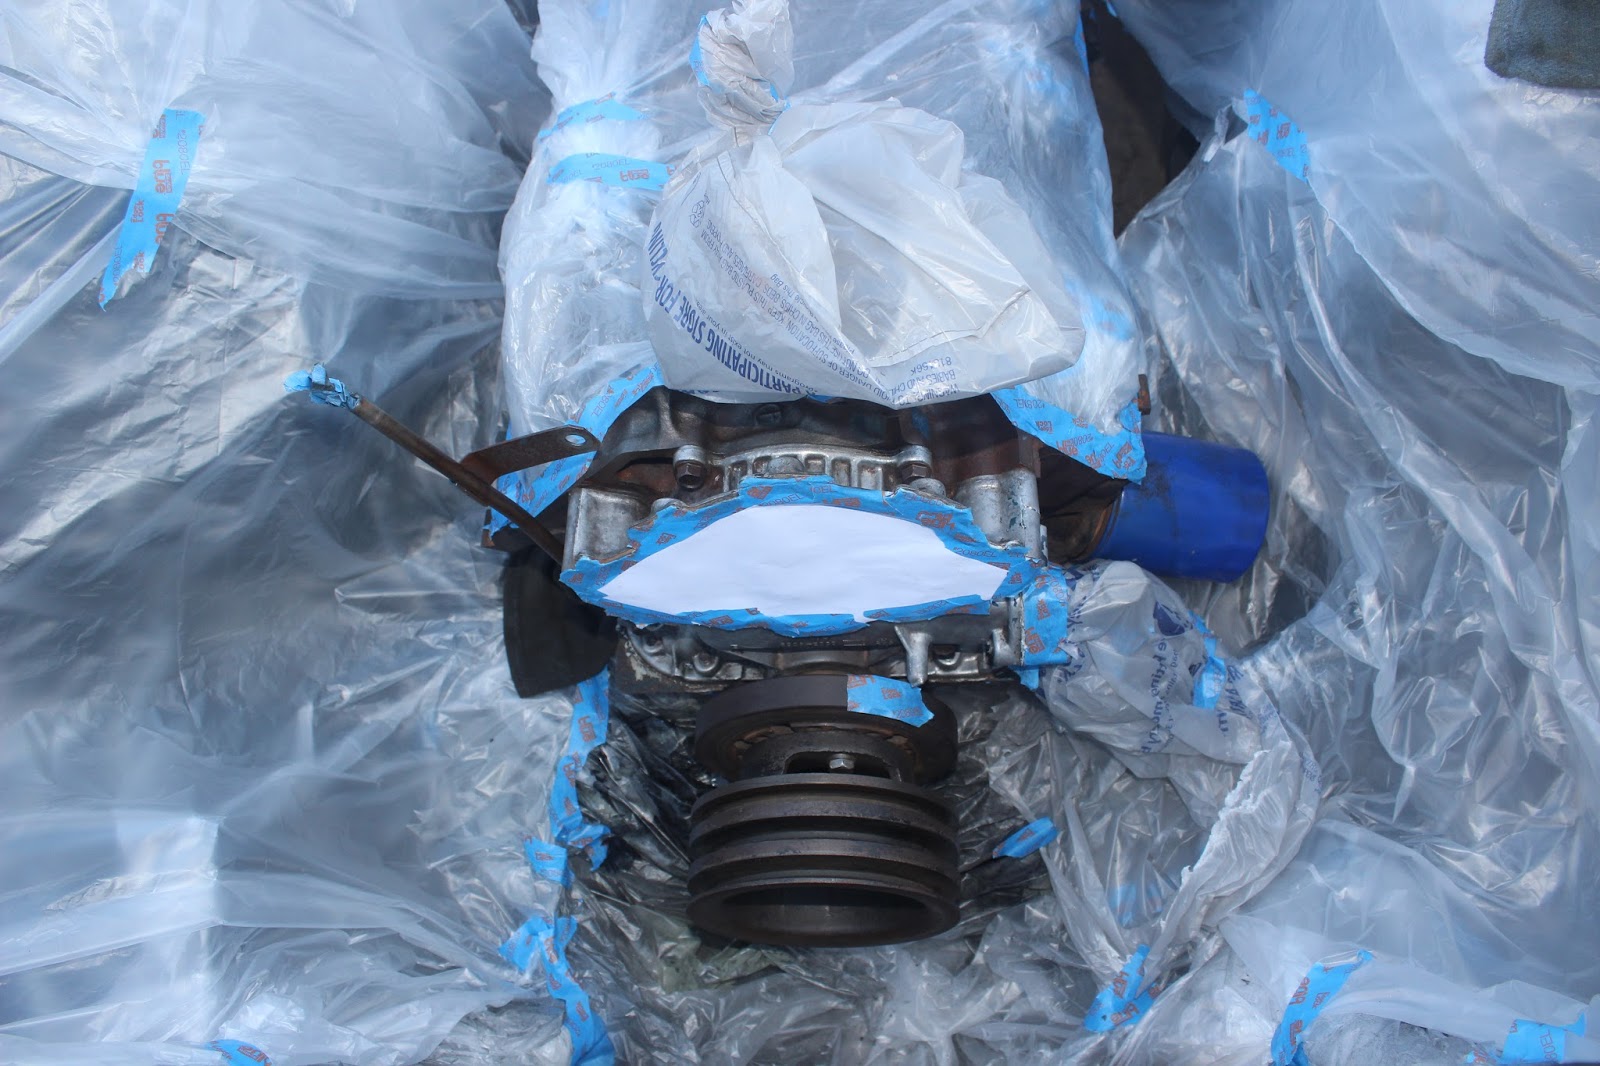
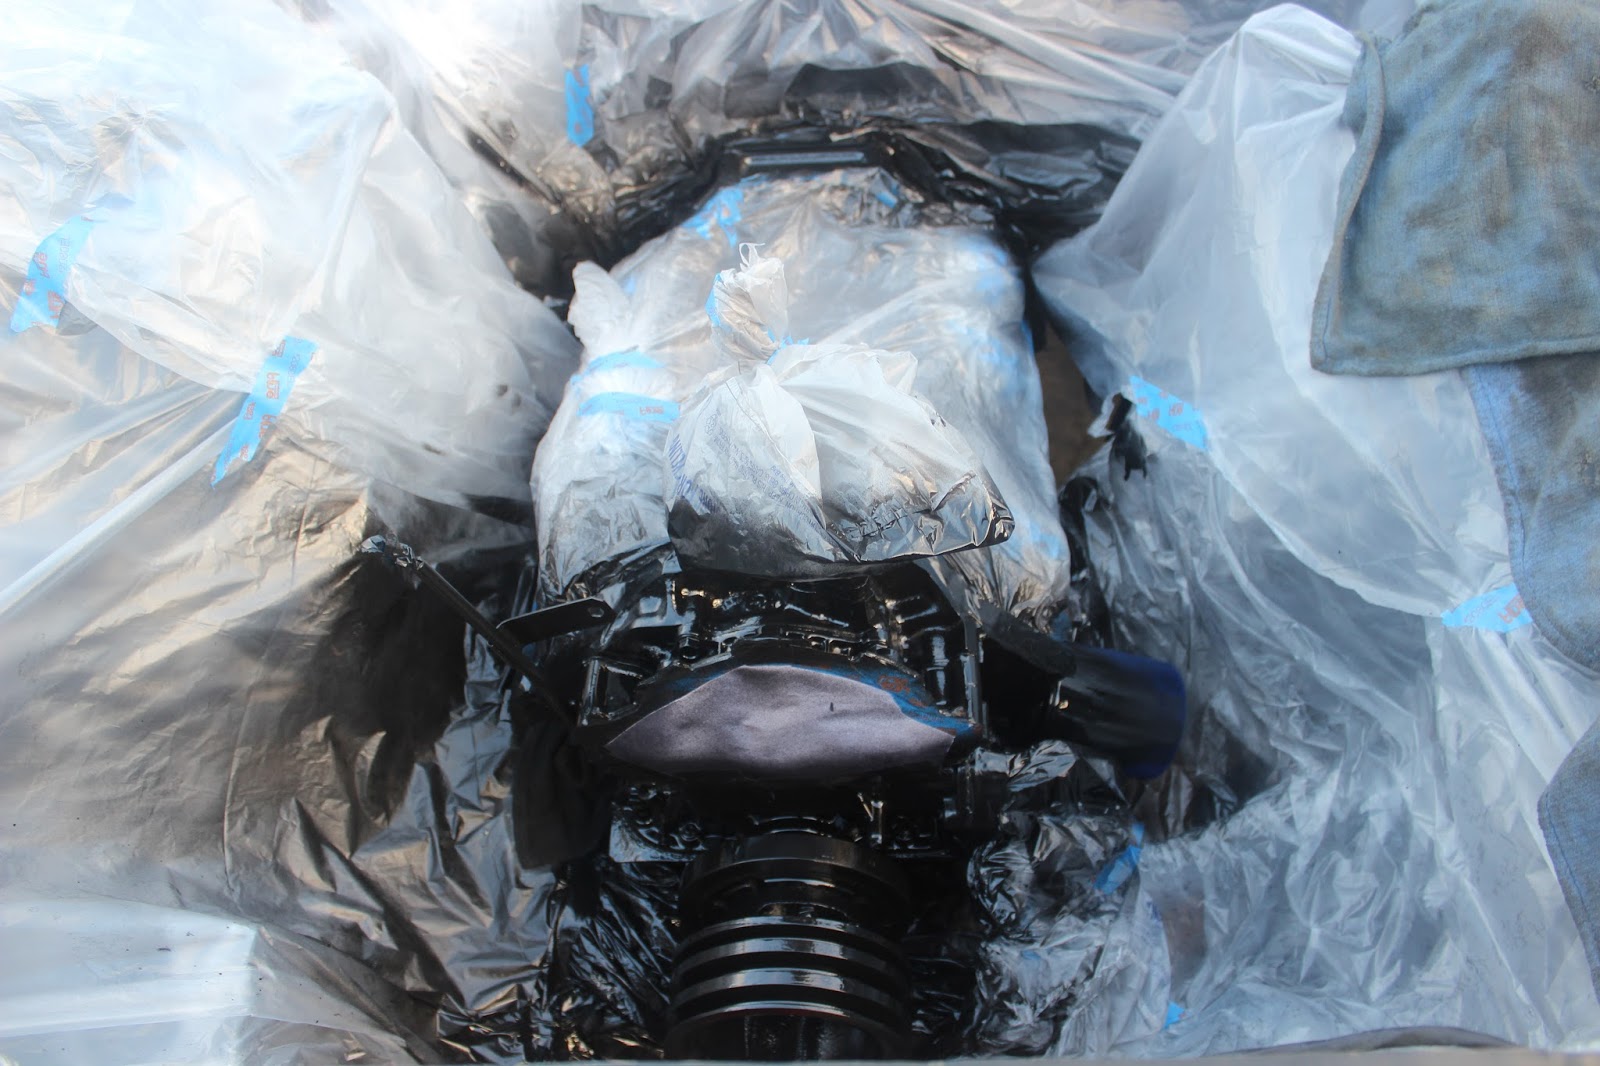
Now, to clean and paint the actual block (even MORE masking!)
I used some Rustoleum Glossy Engine Enamel, and I REALLY like the stuff! Really tough stuff! and good looking!
Okay, now to detail the engine parts! I painted all of the parts with the same glossy engine enamel that I used on the block.
I used Eastwood Cast Iron Grey High-Temp Coating on the exhaust manifolds, great stuff! On the valve covers, I used the gold enamel provided by NPD.
Now, some reassembly!
First, the cleaned block ready to be put together!
A new dual master cylinder!
And the final result!
Here's the BEFORE:
and AFTER:
And best of all, it worked very nicely once started up! We only had to adjust the timing about 4 degrees to 6 deg BTDC. Here's a video of it running!