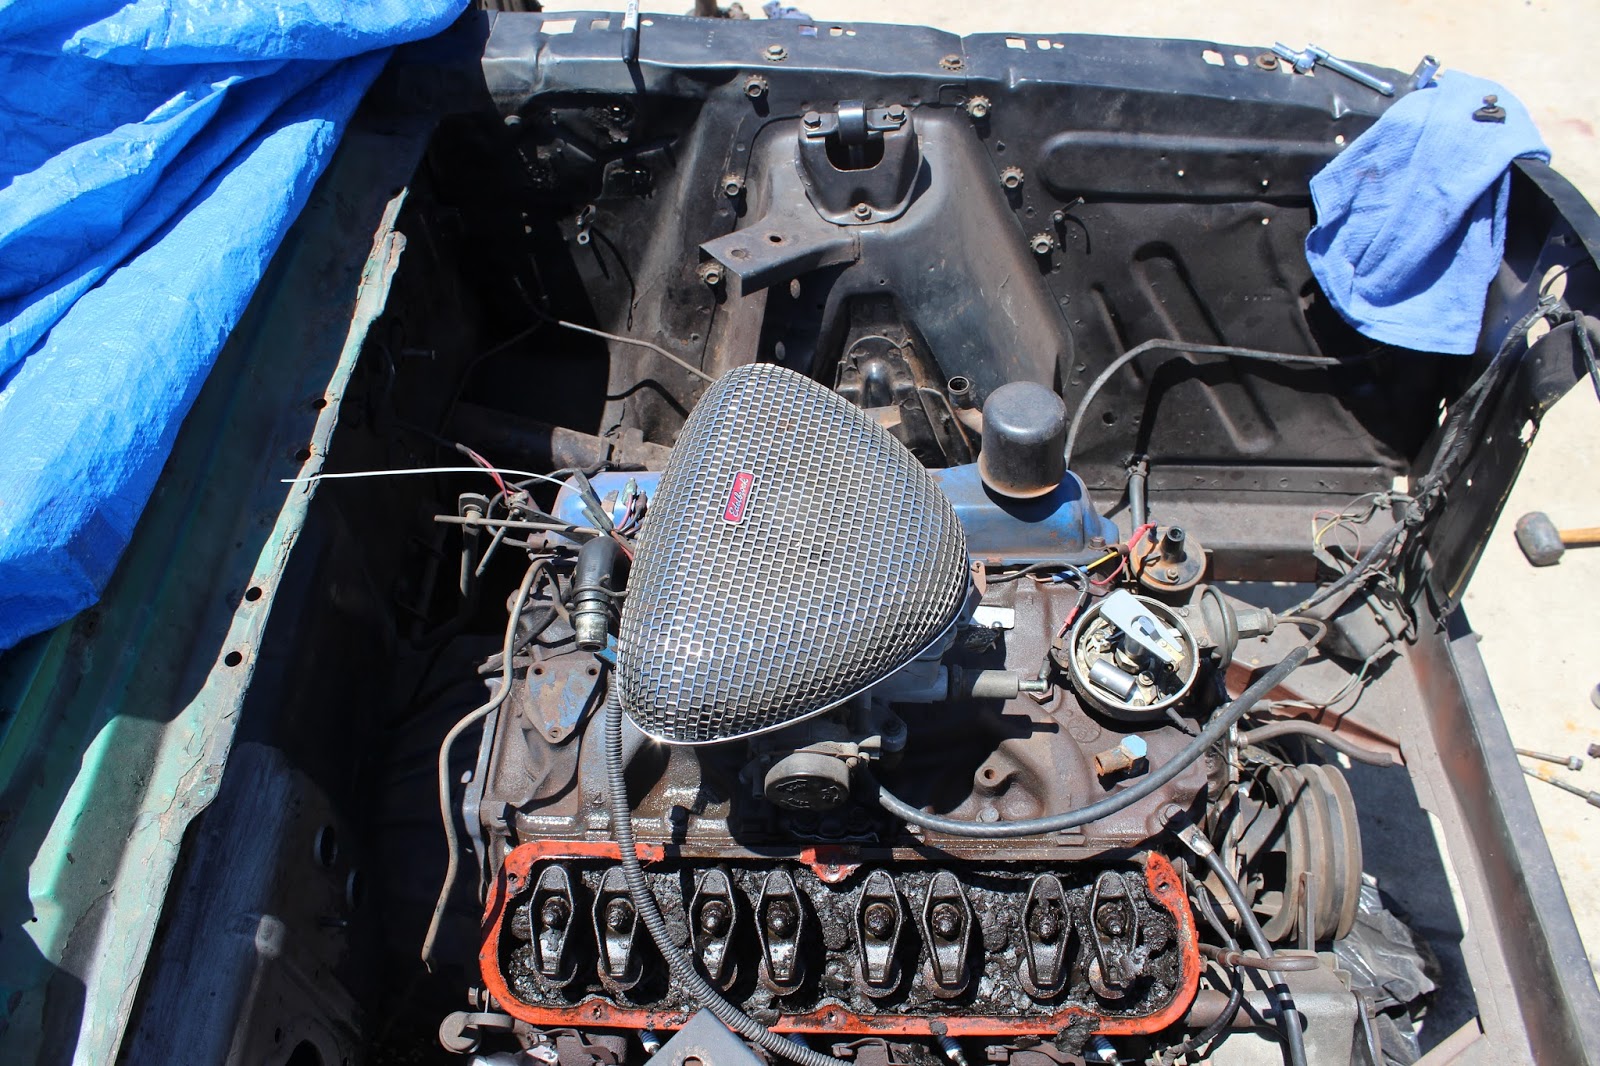
First of all, some before-photos (of the engine compartment)


NOTE: I've never ever dismantled an engine before, let alone done any mechanic work on it, so this was a HUGE learning experience for me!
Let's start tearing it up! In the picture I've already removed the spark plug wires and distributor cap.
So, first things were the water pump/outlet and hoses!


VERY rusty inside of these passages, the previous owner actually ran the car with PURE water (WOW!) and NO thermostat to my surprise! Really interesting! Anyway, next is the valve covers!


I was very surprised when I took off the valve covers, because there were some sort of - deposits inside, don't know what it is but it was in the form of flakes! And it covered the entire top of the head, probably clogging the oil passages in the head. This is very odd to me because the engine ran like a charm before dismantling it. But this what I had to work with!
Next, the intake manifold!


Next, cylinder heads and exhaust manifolds!


And the (almost) bare block (after I cleaned the valley up a bit)!

The method that I used to clean all the engine parts was a nice wash in distilled white vinegar. I left all of the removed parts in the vinegar tub for about a couple 3-4 days, and here are some of the results!


As you can see, it did a really nice job!!! Of course I had to manually scrap off some additional rust and grime (like the fan in the picture and cylinder head) but it definitely beat doing all of it by hand! Now, let the painting and detailing begin!
BUT before that, all the while these parts were washing themselves in the vinegar wash, I had began to detail the actual engine bay (without removing the block! looooots and lots of masking):


I used a combination of paint stripper (this stuff HURTS when it gets on your skin, ouch.), sand paper, and some wire brush! Here I had it primed and sanded with cheap rustoleum rattle can primer, and I put on a cheap rustoleum high-gloss enamel (I would've used a flat or semi-gloss black, but I had 5 cans of the high-gloss already, so I just went with that)


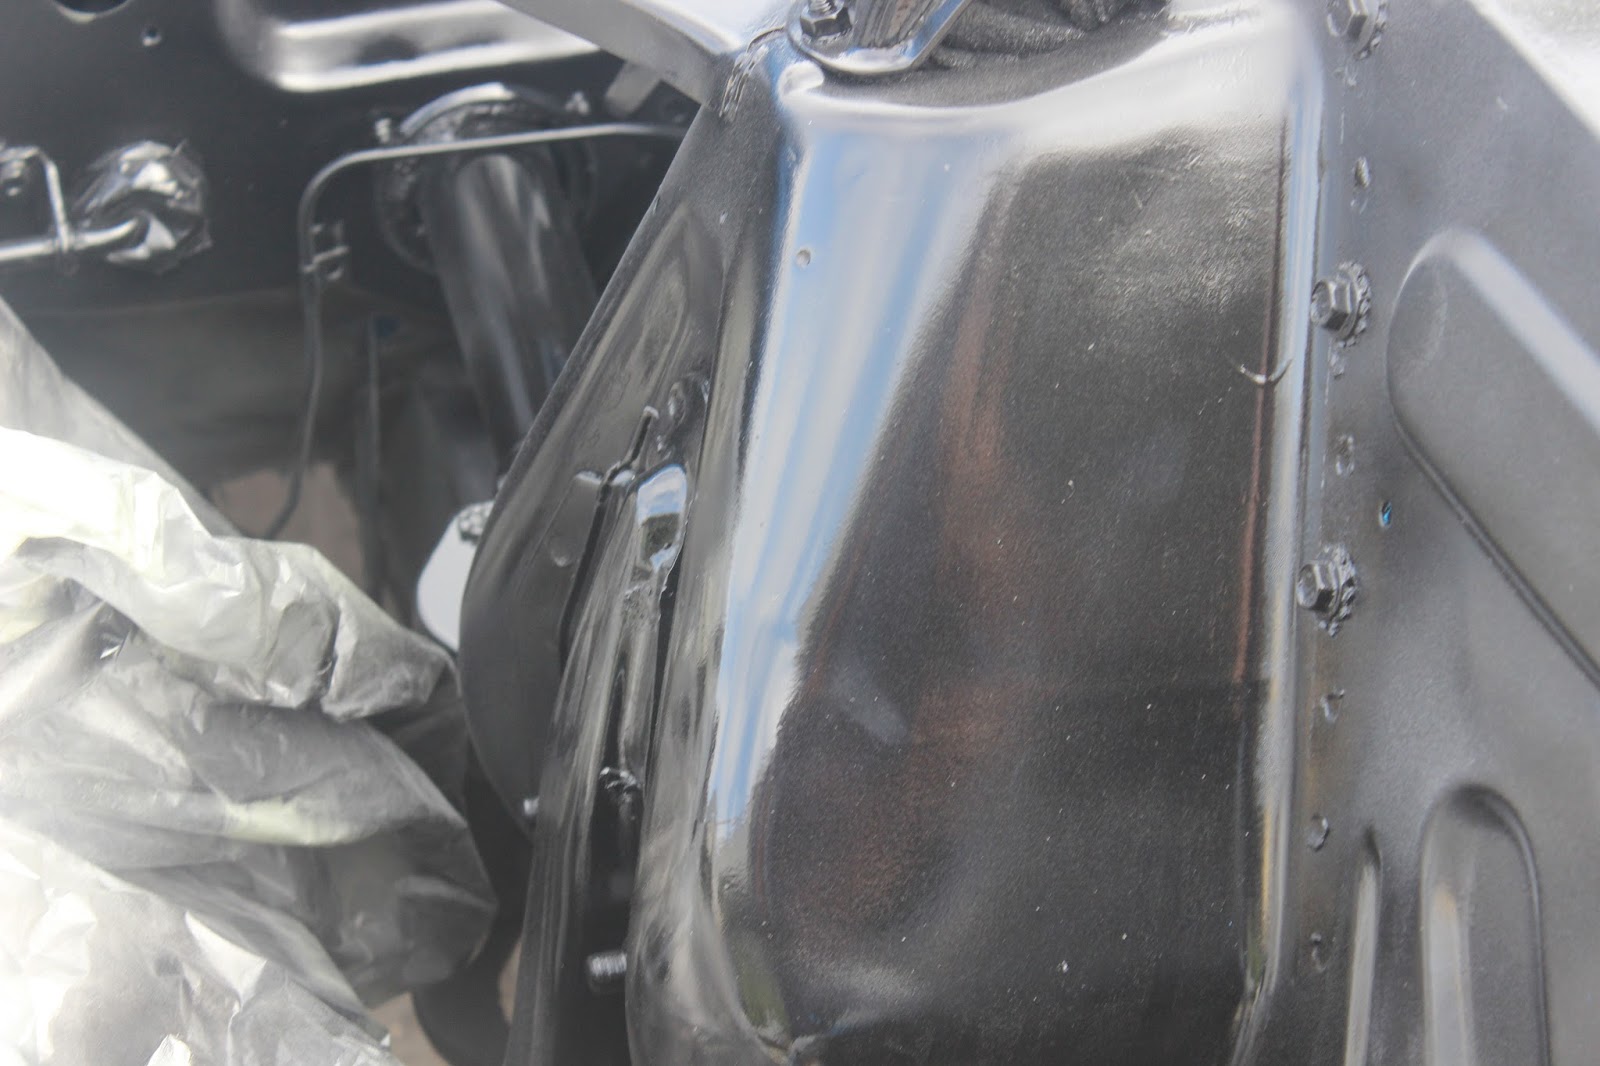

As nice and shiny as it looks now, the cheap paint means that it will be getting chipped and scratched quite a bit during installation of the engine components! Darn :(
Now, to clean and paint the actual block (even MORE masking!)
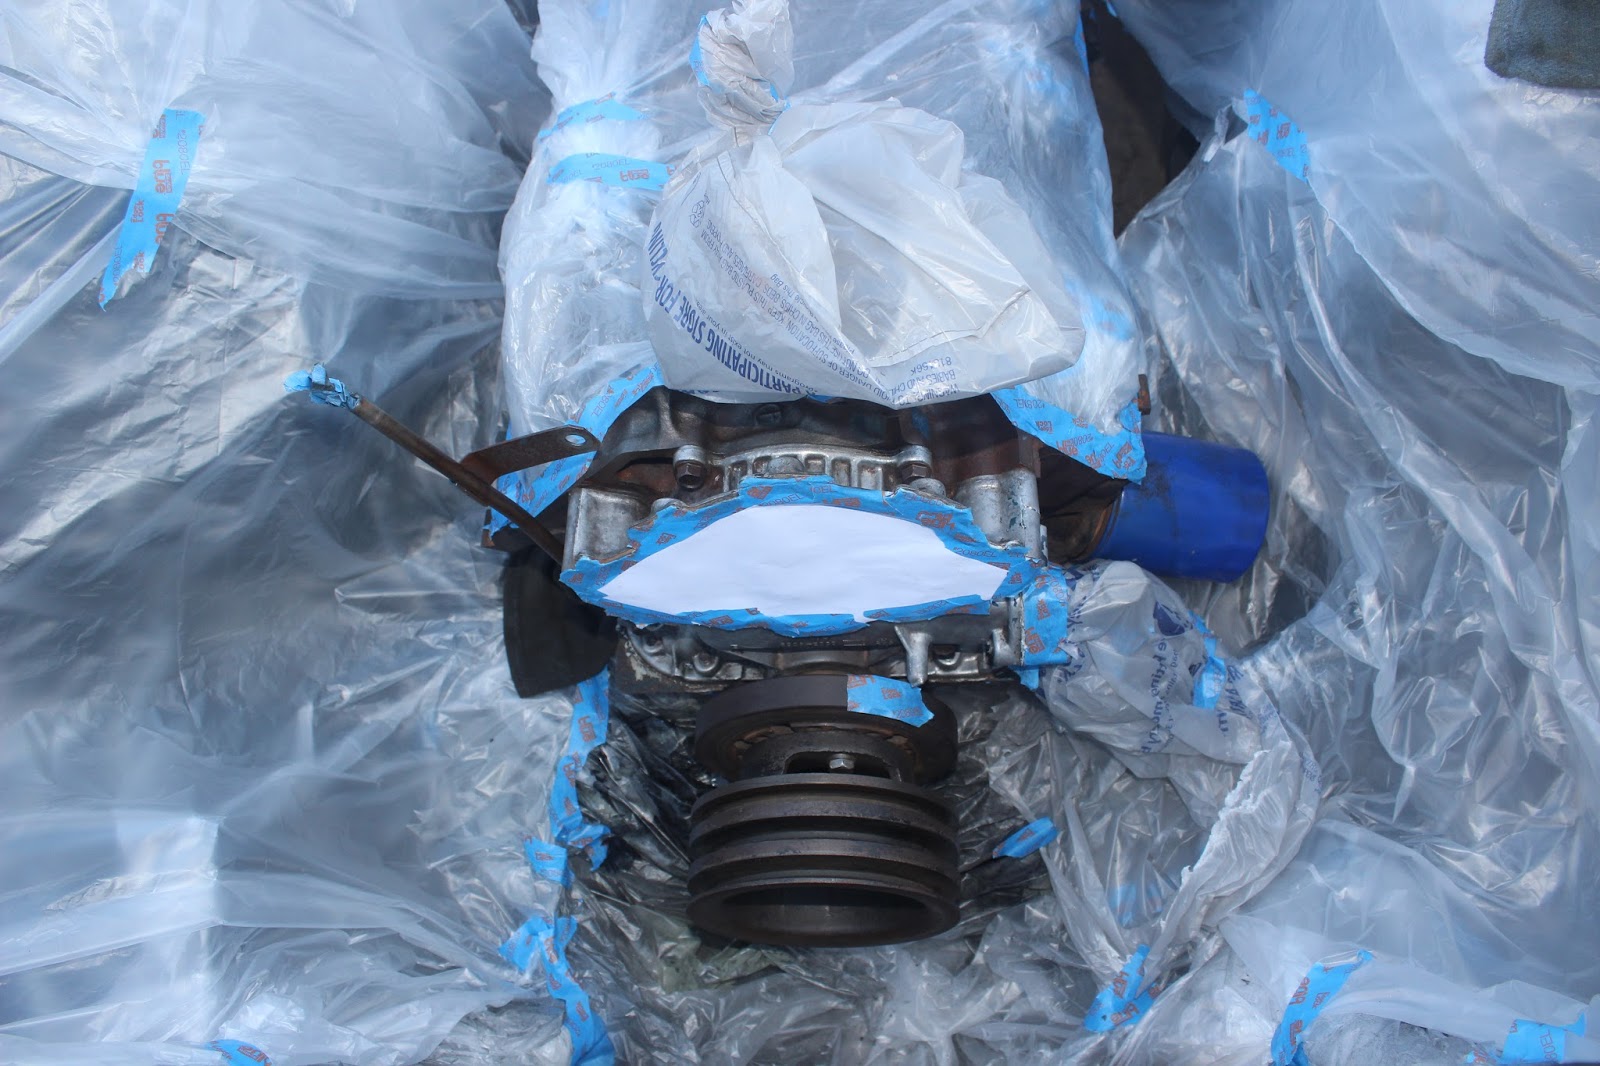

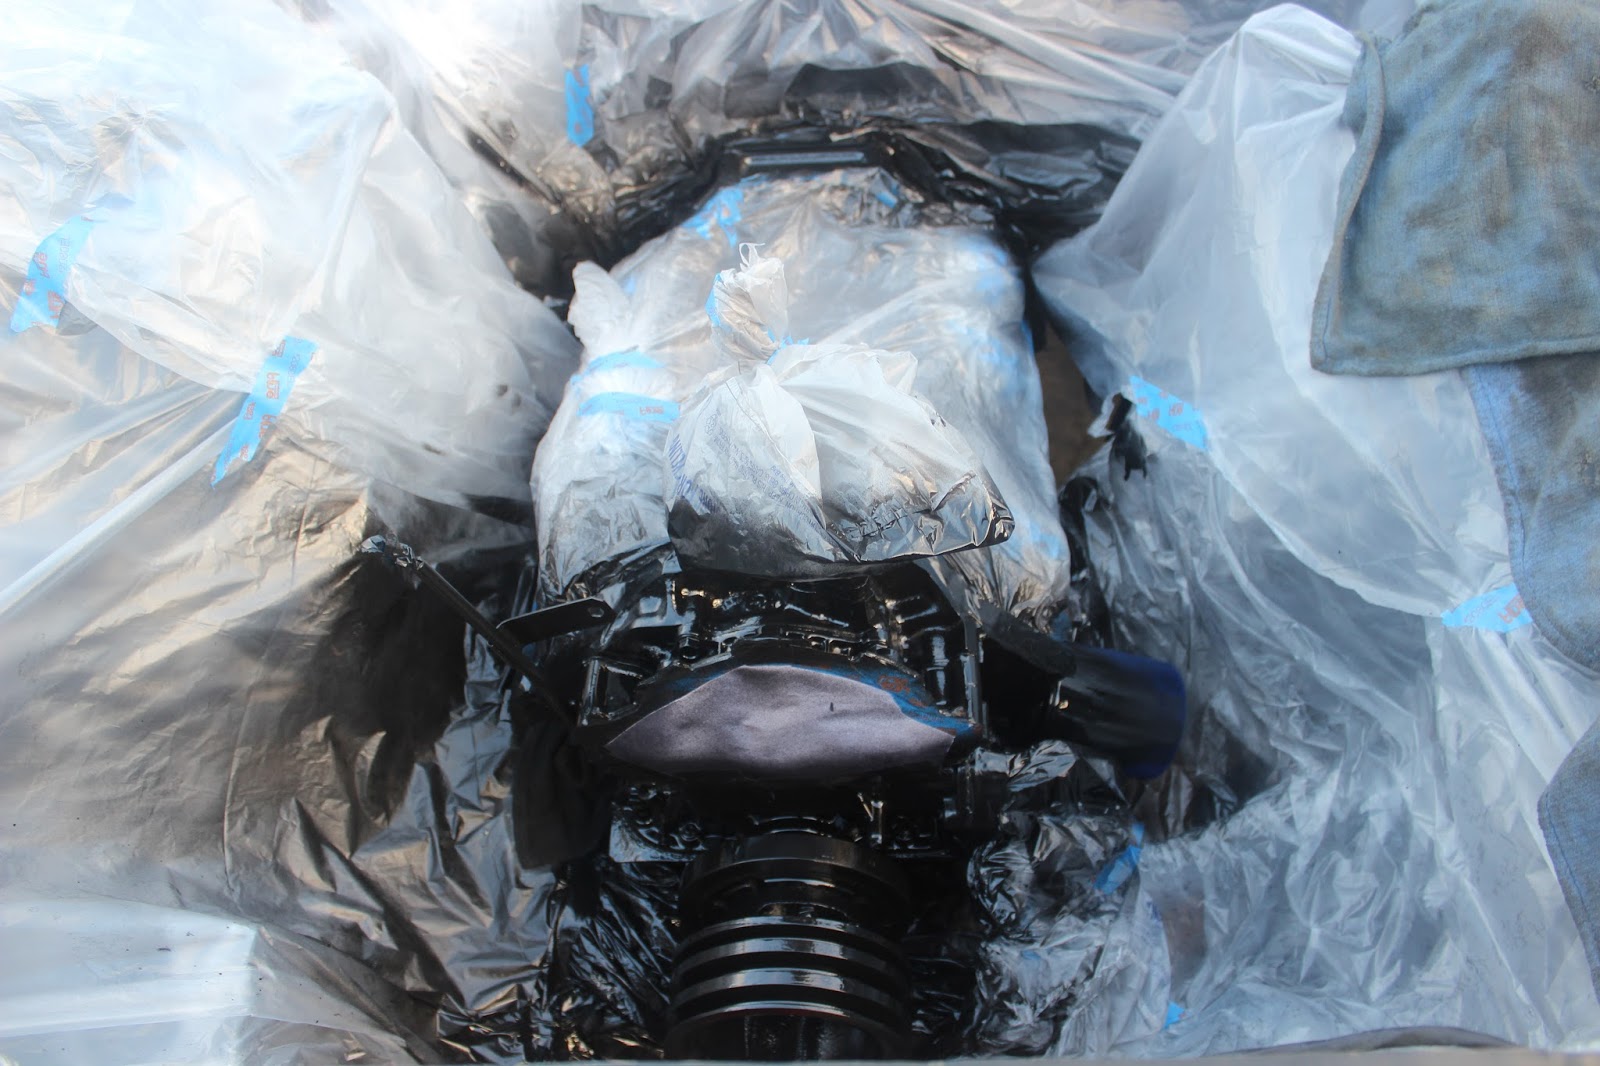


Okay, now to detail the engine parts! I painted all of the parts with the same glossy engine enamel that I used on the block.


I used Eastwood Cast Iron Grey High-Temp Coating on the exhaust manifolds, great stuff! On the valve covers, I used the gold enamel provided by NPD.
Now, some reassembly!
First, the cleaned block ready to be put together!


And the final result!
Here's the BEFORE:


And best of all, it worked very nicely once started up! We only had to adjust the timing about 4 degrees to 6 deg BTDC. Here's a video of it running!
and some exhaust video!
There are lots of dissertation internet websites on-line since you attain web famous from the site.
ReplyDeleteceramic coating centennial
I think this is an informative post and it is very useful and knowledgeable. therefore, I would like to thank you for the efforts you have made in writing this article.
ReplyDeletePasadena auto collision